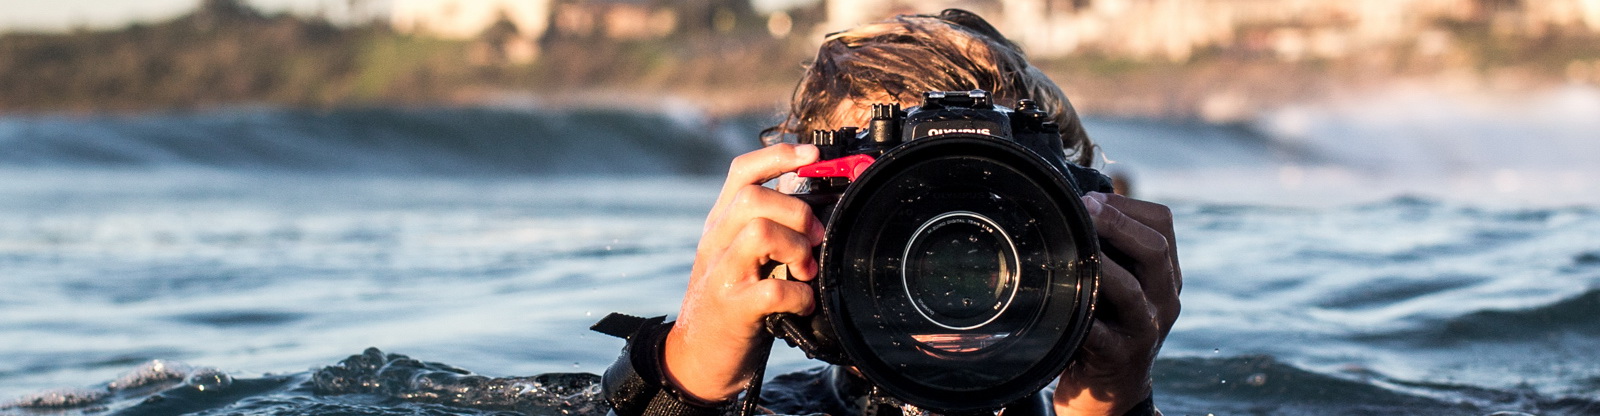
15 Tips to Take Your Photos From Amateur to Pro
Do you want your photos to look like the ones in magazines? Or on the National Geographic website?
Then these 15 tips on how to take professional pictures are for you. You’ll take better images in no time, whether you’re photographing birds or portraits.
Shooting JPEG Will Limit Your Editing Options – Switch to RAW
Before you pick up a DSLR, you should have a basic understanding of the various digital file formats. Most DSLRs these days shoot both JPEG and RAW files.
A JPEG has a limited number of brightness levels it can capture as opposed to a RAW file. A JPEG records 256 brightness levels, while a RAW can capture up to 16,384!
Also, each time you edit a JPEG, you lose information. You can completely destroy the quality of a JPEG file by editing it a couple of times.
The beauty of a RAW file is that you can convert it to a JPEG, or another type of file like a PSD (Photoshop) file.
- Too Much Light Will Ruin Your Photos – Here’s Why
Understanding lighting is the foundation of photography. There is a misconception that abundant light is good and low light is bad.
Some of the loveliest portraits are taken an hour before sunset, during the golden hour. The light casts a warm and flattering glow on the subject.
And many landscape photographers take stunning nature images during the ‘blue hour’.
Too much light, in the form of a very sunny day, can create harsh shadows on your subject. This can be very challenging to work with.
Before you start shooting, take some time to observe the light. What direction is it coming from? This will influence where you place your subject.
When shooting portraits, lighting coming from the front looks soft and beautiful.
When shooting static subjects like food, front light can create unwanted shadows. It can also cause the image to look flat and lifeless. Side or backlighting is usually the better choice.
- Use Spot Metering for a More Precise Exposure
The simplest form of in-camera light metering is “average metering”. The camera reads light levels across the entire viewfinder. It calculates an exposure based on the overall average of luminance.
It works well for scenes with equal amounts of lights, darks, and midtones.
But any scene that that doesn’t average out to a standard of 18-percent reflectance will be a problem.
Centre-weighted average metering is a variation on average metering mode. It gives the brightness of the objects in the centre of the viewfinder more weight in the exposure calculation than objects around the outer edge of the frame.
This is based on the assumption that the subject of interest is likely to be near the centre of the frame. And that it should get exposure preference over objects in the periphery.
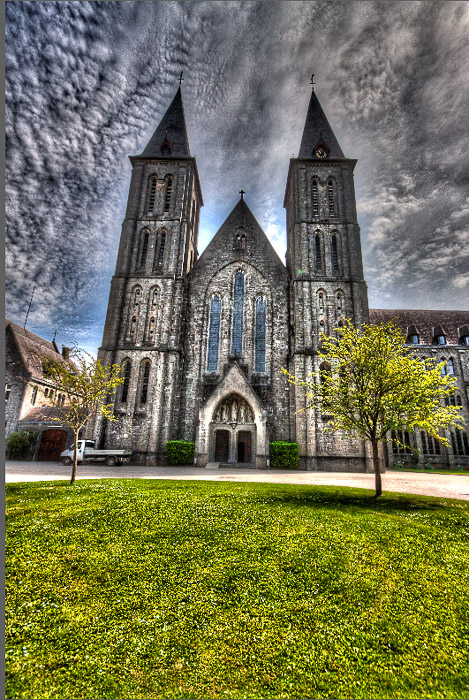
Spot metering is the opposite of average metering. It samples the brightness of a small screen area. And it allows you to select the exact portion of the scene on which to base your exposure.
It’s very useful for situations where large areas of very light or dark tones would create an exposure bias that would detract from the central subject. This is the case for backlighting, high key, or low key scenes.
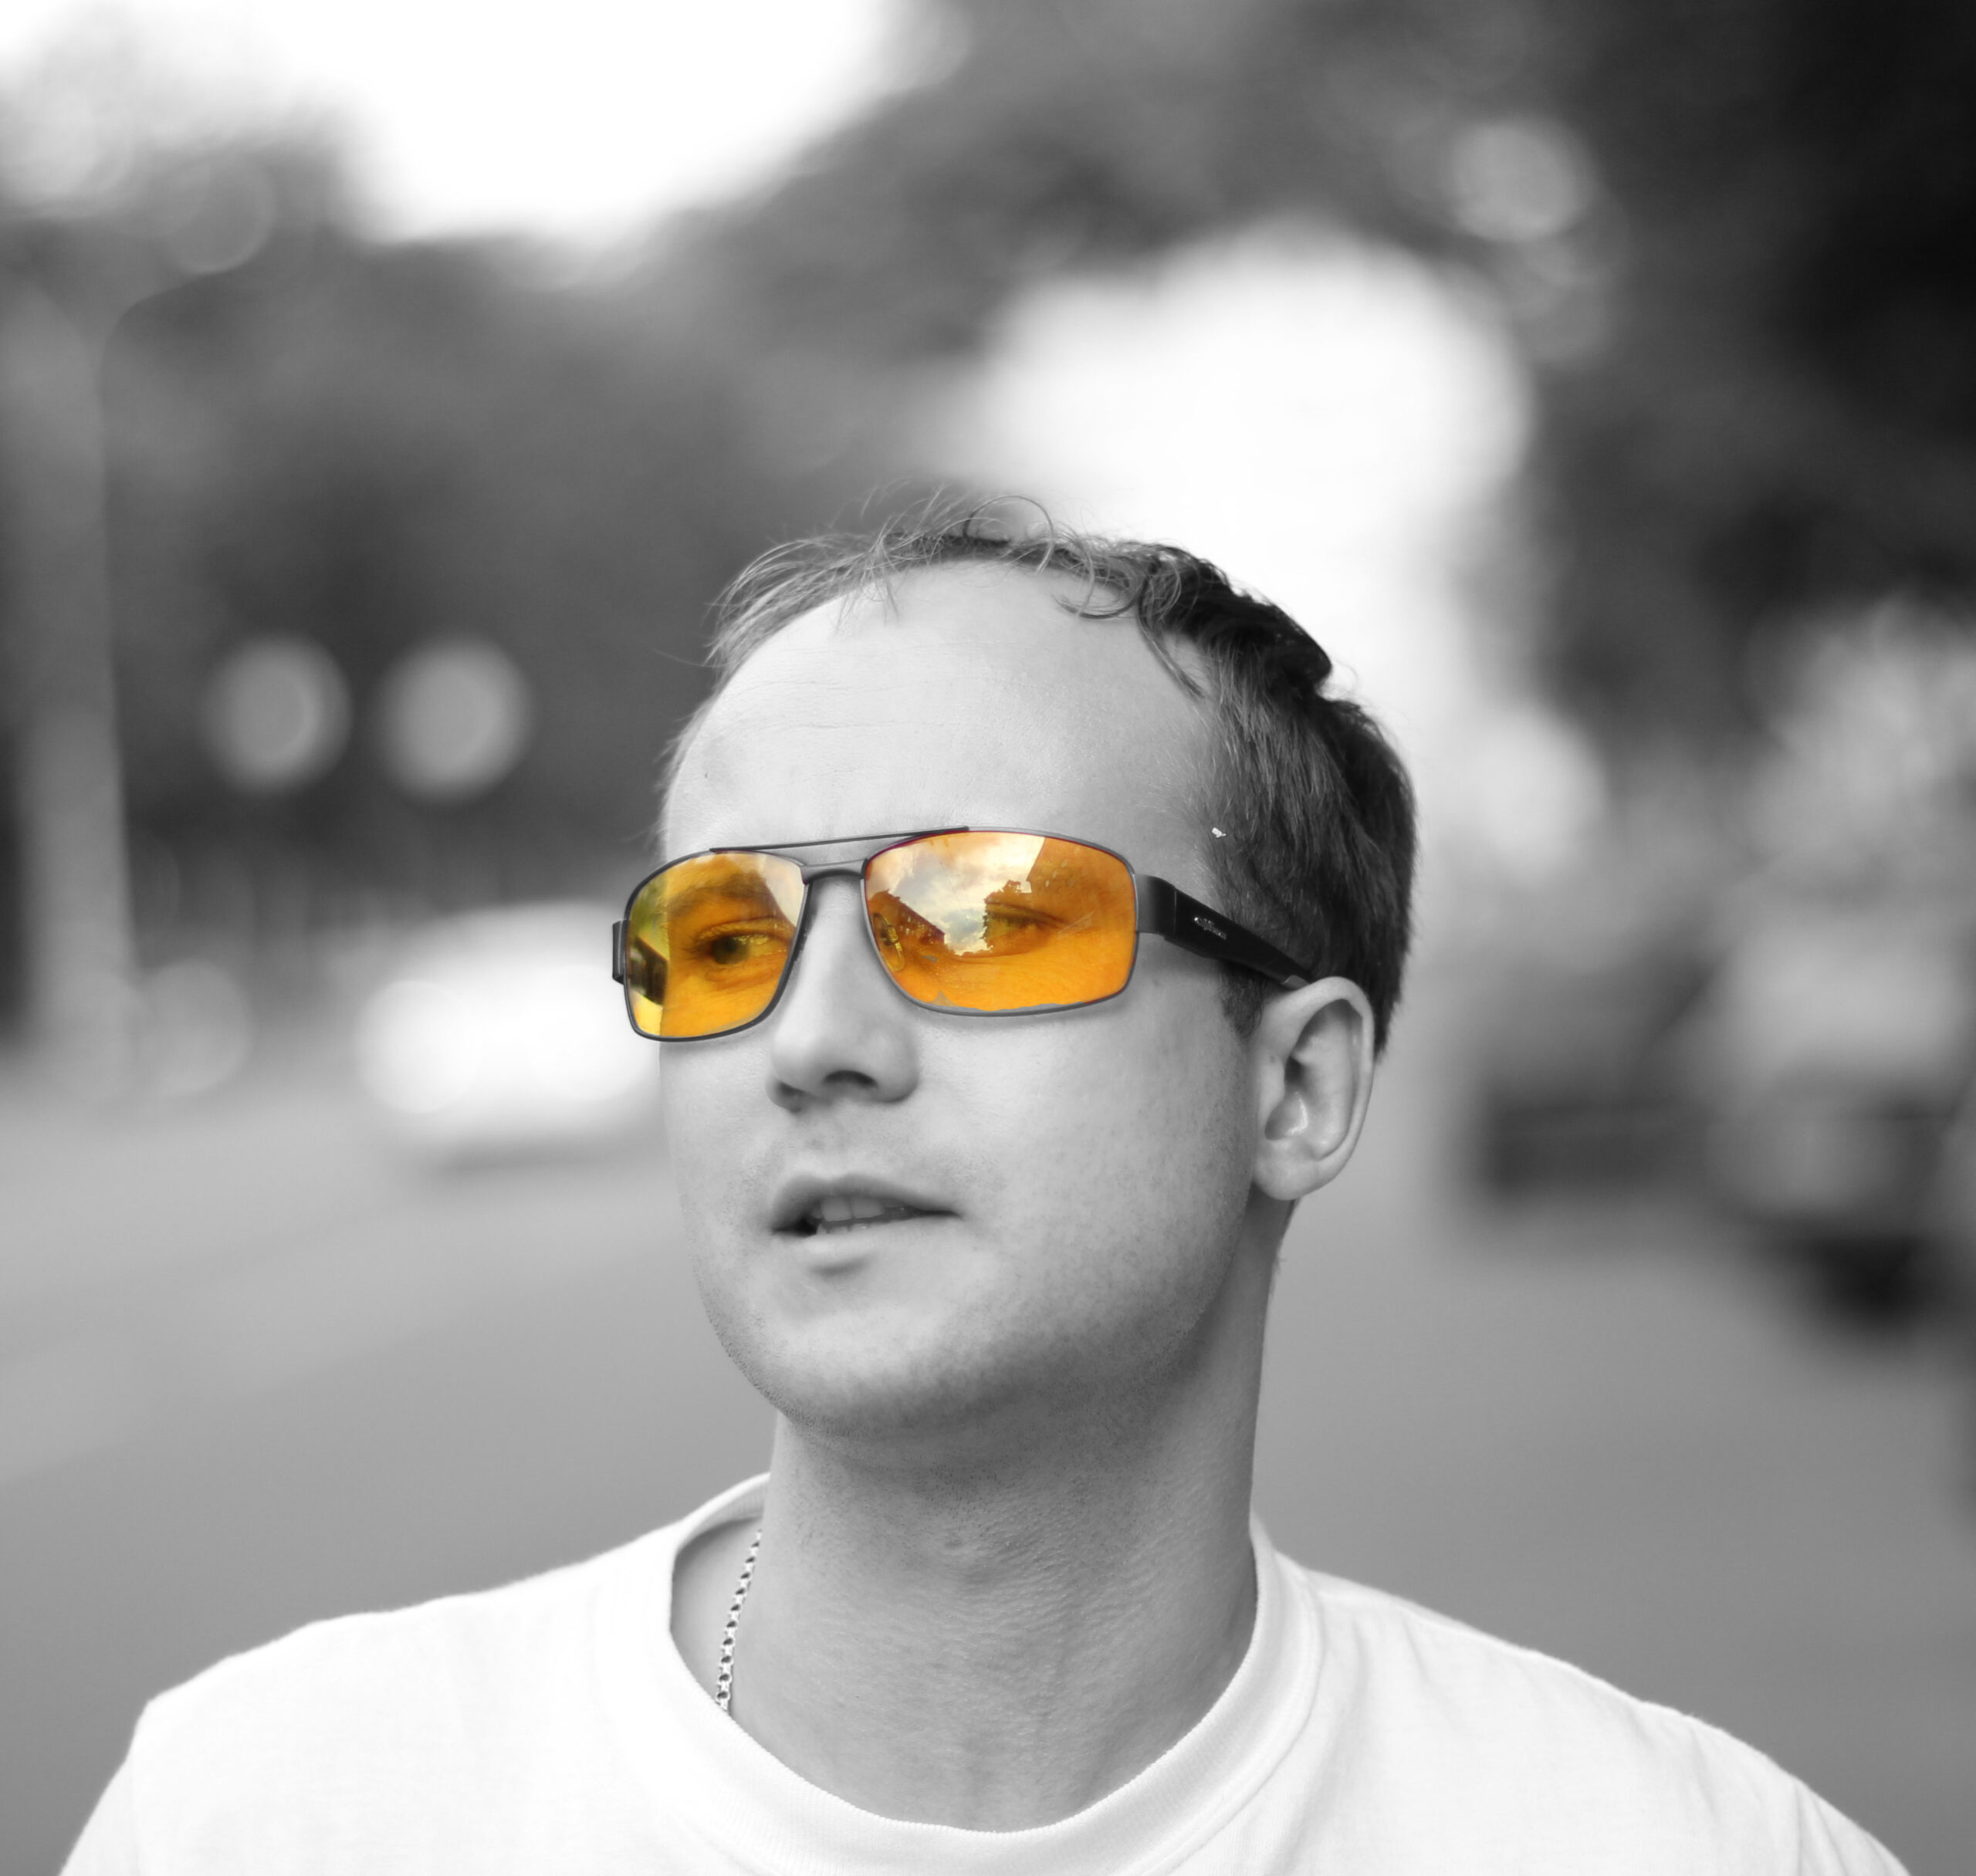
The image below is a good example of when you’d want to use spot metering. This is because it has a lot of contrast.
- Use Bracketing to Capture the Right Exposure
Even the best light meters and exposure systems can be fooled by difficult lighting situations. And the preview screen on the back of your camera is not a very reliable indicator of correct exposure.
This is why it’s very important to shoot in manual mode.
To do this, you need to learn the Exposure Triangle; that is, how aperture, shutter speed and ISO work together.
It is also necessary to learn how to read a histogram. Most cameras these days have a built-in histogram function. Using it will be a lot more helpful to you than relying on your LCD screen.
One way to ensure that you got the correct exposure is to shoot the scene at several exposures. Then you can choose the best one.
This technique is called bracketing.
You shoot a “bracket” of alternate exposures over and under the presumed good exposure.
If your base exposure isn’t correct, then one of the other images is likely to be properly exposed.
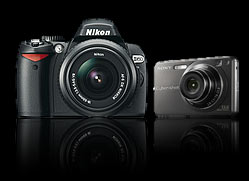
- Which Lenses Should You Use and When
There is no one lens that is appropriate for every type of photography or shooting situation.
This is why it’s a good idea to buy your camera body and your lenses separately. The kit lens that comes with your camera is usually not the best quality. And it will not always be suitable for the kind of photography you want to do. Especially if you’re aiming to take more professional pictures.
When I shoot food photography, I usually reach for my 24-70mm zoom lens, or my 100mm macro. For portrait work, I prefer an 85mm. If you’re travelling or doing landscape shots, you’d be better off with a wide-angle lens.
Keep in mind that the crop factor of your camera will have a bearing on which lenses you choose.
Entry level DSLR or “prosumer cameras” usually have a cropped sensor. A Canon Rebel is an example of a good DSLR with a cropped sensor.
What this means is that a 50mm lens will behave more like a 80mm lens because of the crop factor.
If you have a camera with a cropped sensor, make sure that any lens you buy will be usable if you decide to upgrade to full-frame.
- Using Aperture to Control the Depth of Field
Aperture is a regulator that controls the flow of light through the lens. But aperture also affects your depth-of-field.
A change in depth-of-field can cause a dramatic change in your image.
Depth-of-field refers to the area of acceptable sharpness in a photograph. Aperture controls how shallow or deep the zone of acceptable sharpness is.
Smaller apertures (higher f-number) produce greater depth-of-field. Larger apertures (lower f-number) produce shallower depth-of-field.
The size of the image sensor, the focal length of the lens, and the aperture all affect the depth-of-field.
To control the depth-of-field in your photograph, you must control the aperture. This is a balancing act between exposure and depth-of-field considerations.
In portrait photography, the most important thing is to get the eyes in focus. Many professional photographers shoot portraits at a very wide aperture.
But when shooting still life, you’d want your aperture to be at 5.6 and higher, depending on the subject.
- What to Do About Digital Noise
ISO is part of the Exposure Triangle. It affects how sensitive your camera is to light. As you increase your ISO, your image will become brighter.
But with that brightness comes an increase in noise.
Digital cameras are much better at handling noise than they used to be. Many digital cameras go up to ISO 6400. At what point you start to see significant noise will depend on your camera.
There’s a major problem with shooting at a high ISO. Increasing the exposure in post-production will alter the look of the grain.
Test your camera to see how far you can push the ISO before you destroy the quality of your images. Use a fast shutter speed and a smaller aperture like F8 or F11 so you get sharp images.
Take the same image at a variety of ISO settings. Start at 100 all the way to the max ISO of your camera and compare them in your editing software.
- Calibrate Your Lenses to Your Camera for a Sharp Focus
Most lenses these days can focus either manually or automatically.
Manual focus is when you take complete control of where the camera focuses. You turn the ring on your lens until the area you want sharp comes into precise focus.
This is not the best approach if you have less than 20/20 vision. If you are even a bit off, you can miss focus. Blurry images are often the result of missed focus.
Autofocus is when the camera adjusts the lens to focus on your subject for you. But the AF system can end up focusing on the wrong part of a scene, or struggle to lock onto anything.
This is especially true in a dim environment, or when presented with a scene with low contrast.
One way to make it easier to get that razor sharp focus is to calibrate each of your lenses to your camera body. You can have a professional do this for you or learn to do it yourself.
Straight out of the box, most lenses are either slightly front or back focusing. You need to make micro-adjustments to get accurate focusing.
- Which Rules of Composition Should You Use
A simple concept to get you started is the “Rule-of-Thirds“.
This is a compositional principle that divides an image into nine equal sections. It does so by using two horizontal lines and two vertical lines.
The important elements in the scene fall along these lines. They can also fall at the points where the lines intersect.
The Rule-of-Thirds is a great starting point, especially for certain genres like landscape.
There are other compositional principles that are even more powerful though. Check out the Phi Grid and Fibonacci Spiral.
- Use a Diffuser to Soften Harsh Sunlight
Think about shooting outside on a cloudy day. The clouds act a giant diffuser, filtering the harsh rays of the sun as they hit your subject.
When it’s a hot, sunny day, the brightness of the sun can create harsh shadows in your images. A diffuser placed in appropriate relation to your subject will soften that light for a more even and appealing look.
There are a lot of professional diffusers on the market. Some have handles, which is very handy for doing portrait photography (pictured below).
You can also use translucent curtains or even shower curtains to make your own, if budget is a concern.
- Fill Shadows With Reflectors
Fill light refers to the amount of light that is bounced back onto your subject. It is used to eliminate or soften shadows caused by the main light source. This is how you control contrast.
Changing the direction and intensity of your shadows can create a variety of lighting scenarios.
How you work with the shadows in your images can set your work apart from other photographers’.
Professional reflector kits are foldable discs. They come in gold, silver, white or black. You can use them interchangeably, depending on your lighting scenario.
You can also DIY your reflectors by using poster board, styrofoam, or cardboard for the same purpose.
- Shoot With a Grey Card for Better White Balance
Use a grey card to determine the correct exposure and make sure that the whites in your images look white.
We’ve all taken winter scenes where the snow looks grey. This is because when metering, your camera looks for an average of 18% reflectance.
A scene that is very bright or very dark will not match this standard. A grey card will help you by providing a standardized reflectance target.
All you have to do is place it in your scene at the same angle as your lens and take a shot.
This will help you later when you are adjusting the white balance in Lightroom. You can click on the grey card with the eyedropper tool to get the correct white balance reading.
- Use the Inverse Square Law to Change Brightness
Light intensity varies with the distance from the light source. The closer you are to your light source, the brighter the light. And light intensity falls off as distance from the light source increases.
Inverse Square Law is a simple and straightforward principle of physics. And the best part about it is that it can help you learn how to take professional pictures.
This law states that the intensity of light is inversely proportional to the square of the distance from the source.
And now in English. If you double the distance from the light source, the intensity is reduced to 1/4, not to 1/2 as you might think.
The distance times two is two, two squared is four, and the inverse of four is 1/4. The same formula works in the opposite direction.
To put this in photographic terms. Doubling the distance between the light source and your subject reduces the brightness by two stops.
And halving the distance between the light source and subject increases the brightness by two stops.
- Calibrate Your Monitor for More Accurate Editing
So your images look different on your laptop screen than they do on your phone or your desktop computer. This has everything to do with monitor calibration.
Calibration ensures that your monitor is showing the real colour, saturation, and brightness of your images. It does this by making a colour profile, which you need to update often.
If you are editing or shooting in a room with a lot of daylight, you cannot see your monitor accurately. The reflection of light on your screen will make a huge difference.
You can use a monitor calibration tool such as that by ColorMunki to solve this.
I calibrate my monitor for each shoot I do.
- Start With Editing Basics in Lightroom
The digital file is equal to a film negative in the sense that it needs to be processed. A RAW file in particular lacks contrast and will look flat without editing.
Learning the basics of Lightroom editing will improve your photography. And there are a lot of resources online that can help you with the ins-and-outs of the program. You can quickly learn how to edit photos like a professional.
If you’re serious about how to take professional pictures, you will start shooting in RAW as soon as possible.
RAW gives you so many more options when it comes to editing, and with that comes creative freedom.
Conclusion
You don’t have to try all these tips on how to take professional pictures at once. Choose one tip and experiment with it or investigate it further.
Photography is an inseparable combination of technical skill and creativity. In fact, the more you understand, the more it will enhance your creativity.
You will be able to get the most out of your camera and create images that reflect your photography vision.
https://cameralabs.org/11820-15-otlichnykh-blogov-o-fotografii-dlya-tvorcheskogo-vdokhnoveniya